Tuesday, July 8, 2014

WL TOYS A959 RC Buggy

Hello Friends,
Even if this blog started as "RC HELI...." here I am lately posting about multirotors and today, surprise: and RC buggy...Bare with me on this one :)
I guess all boys at a certain age dreamt of  having an RC car at some times(and other things I will not mention here :)... Mine was a Peugeot 205 with the Ari Vatanen sticker on it, but that car wasn't meant to be mine back then...Many years later, here I am being the owner of an 1:18 scale buggy from www.banggood.com, for which I thank them...It's a 4WD buggy from WL TOYS called the A959.


 Funny thing is that for WL toys it all started a few years back with the V911, from which I also own one, and I guess with good management decisions they expanded into multirotors and now RC cars...I guess many of us were surprised when the L959 came. It looked like a real RC car that could wheelie on throttle, isnt't that something ? I looked at that but banggood (Sami at that time) suggested this smaller 4WD, and I liked the idea to be honest...
Just a few hours ago, I filmed the unboxing but I could only play a bit in my apartment, but wow what an acceleration this beast has....AMAZINGGG, I cannot wait to go outside and see really how it performs...A piece of advice still: since this buggy uses a brushed motor, take it slow on the throttle, untill the motor's brushes settle in.
The buggy has a claimed "maximum velocity " of 50 km/h (yes, you read correctly) and it uses a 2.4 Ghx tx/rx system. I like already the nice suspensions which are not too soft like the L959 seems to be, and the grip on the tires is also good.
What I don't like is that in order to access the battery you have to open 2 metal pins to remove the canopy, install the battery, and later switch the buggy on, again from under the canopy.
Not very convenient but maybe a cost saving idea for WL Toys?
I want to end this post in a positive note and tell you that I am very excited about this buggy, and I hope it will be a nice and funny ride alltogether...

Some dimensions and specs of the car:
Vehicle size (LxWxH) = 245x175x94mm;
Wheelbase  165mm
Wheelspan 105mm
Wheel diameter /width 61mm / 28mm
TX battery 4xAA
Car battery 2S (7.4V) / 1100mAh
Motor 390
Control distance 100 above is mentioned in the manual

Please enjoy the unboxing video I uploaded, and I will upload another video (at least) showing you how the buggy actually goes, and more pictures, so please stay tuned...


You can find this great product that banggood.com provided me, here:
http://www.banggood.com/Wltoys-A959-Rc-Car-1-Or-18-2_4Gh-4WD-Off-Road-Buggy-p-916961.html

Below is the unboxing video from youtube :


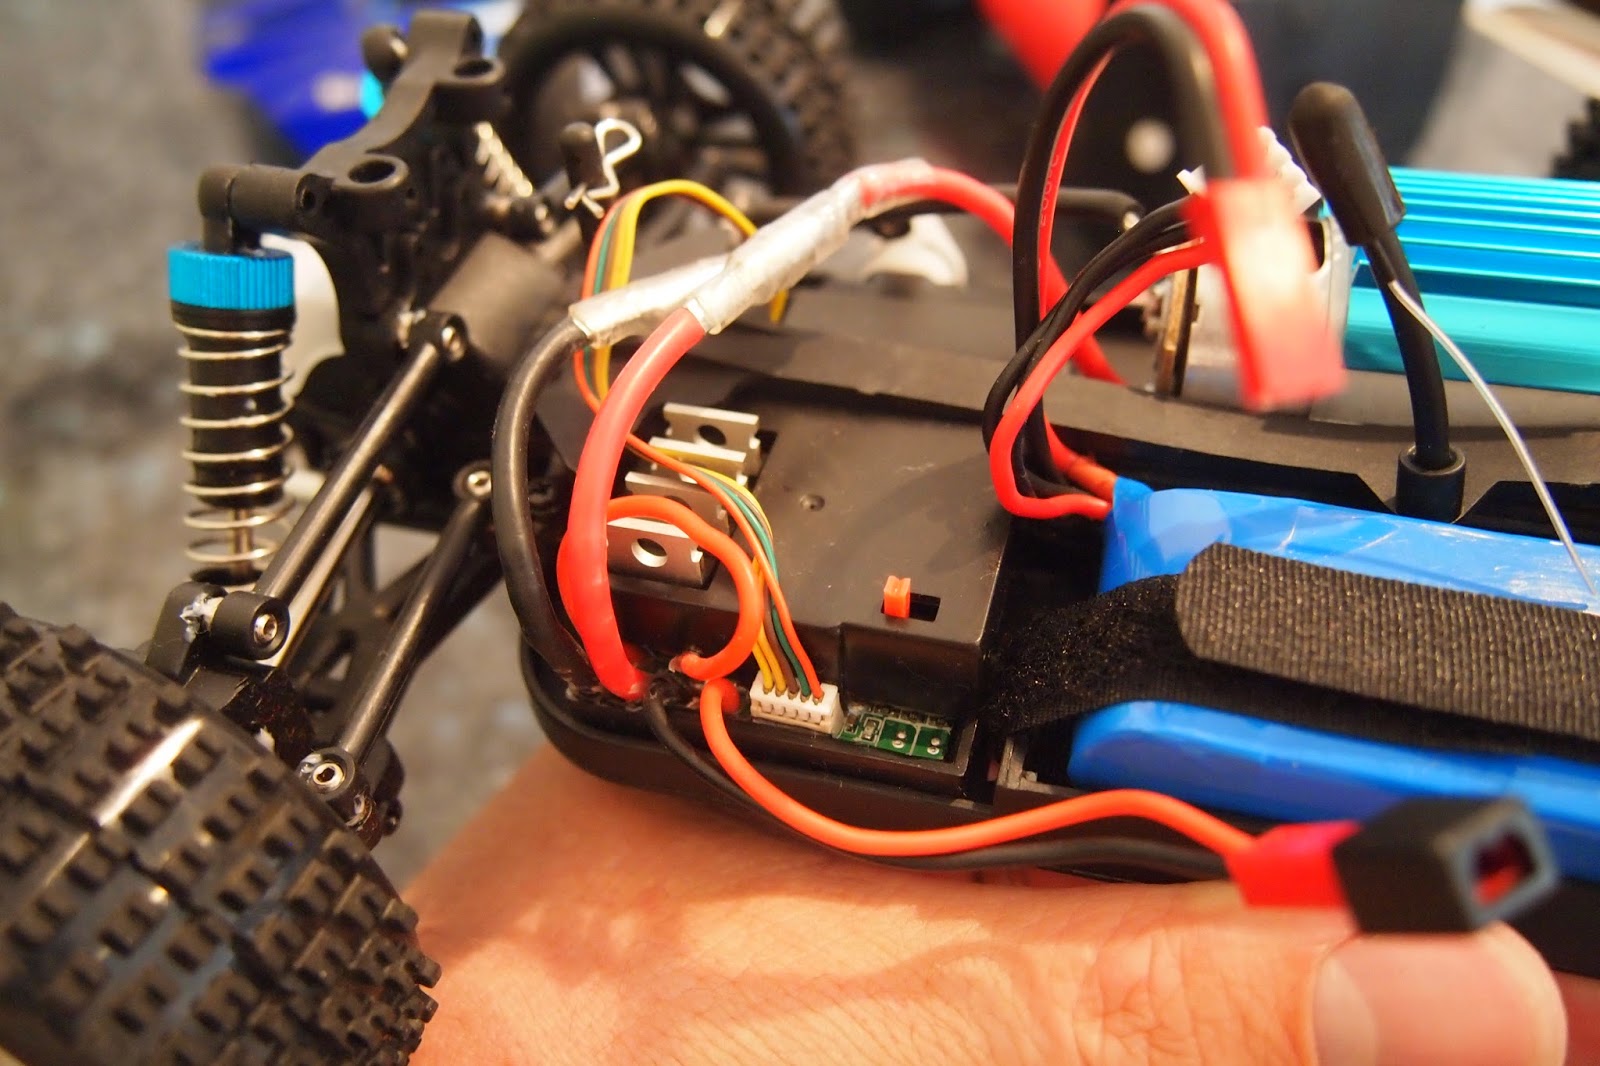
 Update: 19.07.2014 I just managed to get my shaft a bit of off-set which rubs against the electronic parts. Guess it happened when my wheels were stuck and I pushed still on the throttle...

I hope you find all the pictures you need below, pictures taken during transmission shaft dissasembling:


Maximum rear wheel travel


Maximum steering left

Maximum steering right


differential opened


Please check the unboxing and short review movie:


Please check the test drive video here:

Monday, January 6, 2014

My new Du-bro prop balancer

After a long waiting, finally my Du-bro prop balancer turned out.
I could have bought some cheap chinese clones but since I read many negative reviews, I decided to take "probably the best" prop balancer available.
I can only confirm the quality is great so far, and the fact that bigger props like 10, 11, 12 inch can make a full turn for me it makes a big difference compare to the other "magnetic" or whatever balancers...
I made a small "unboxing" basically showing all the bits and pieces that must be put together easily, and also showing the good manual showing you some tips for an effective balancing process.

Highly reccommended !

The new Fatshark Attitude V2 FPV goggles kit

After trying to fly FPV using my 7” lcd monitor from Bangood, it’s time to step up and become more “immersed”
to my quad by using some FPV goggles. I got some Attitude V2 kits, with camera, cables and polarized antennas, which are really
plug and play, all you need is a 2S or 3S li-po to power it up, really nice and simple.
Check out below the first time unboxing video and the package contents…


Since I was used to fly with an LCD attached on my Devo 10 with a bracket, I often took my eyes off the screen to look at my quad…
bad and distracting habit but sometimes necessary. At the first moment I put the goggles on I was pleasantly impressed with the image quality
they display from the small Fatshark CMOS camera bundled in the kit. Just a very small blue-ish colour around the lcd’s but barely noticeable
and due to the optics getting the wider FOV.
The Dominator goggles are supposed to have just a bit clearer picture (never tried myself) but the FOV is smaller and the IPD’s are not adjustable.
Fortunately the goggles suit me just fine on the largest IPD position, so definitely the Domi’s would have been no good on my bigger head…
Below you can see the individual detailed pictures with all the items that came in the kit.

The box's contents

Front view of the goggles

Left view

bask view looking in the goggles-you can see the green edge due to the adjustable IPD's

Right side

Top view

Underneath the goggles

The 600 TVL Cmos FPV camera bundled in the V2 kit(missing in the V1 Attitudes)

Backside of the 600 TVL


The bundled 250mW VTX for 5.8ghz


Filtering element allowing 2, 3 or 4S power


Stock antennas

Cloth for cleaning the goggles

Cables

more cables

still more cables :)

and the last of it...

Nice fatshark stickers

manual in good english

the kit's content detailed

the top of the box

a nice feature, actually someone checked that all is working, which was true

the polarized spironet antenna box

the polarized antenna set


These are the full specs of the kit:
·         New Trinity head tracker with 3 axis : pan / tilt / roll;
·         35 degrees field of view with backlit polarized technology
·         640x480 dots with 922k pizels VGA NTSC/PAL auto select
·         New generation Nexware receiver (AWEX682)
·         Adjustable PID (59-69mm)
·         Optional diopter lens inserts of -2, -4, -6 dp
·         Usable frequencies: CH1: 5740 MHz CH2: 5760 MHz CH3: 5780 MHz CH4: 5800 Mhz
CH5: 5820 MHz CH6: 5840 Mhz CH7: 5860 MHz
·         Comes with bundled Attitude V2 goggles,  600 TVL CMOS camera(with 2.8mm IR coated lens and 100 degrees FOV), 250mw VTX(5.8Ghz), filtered balance lead adaptor, 2 off 3dBi antennas, 3.5mm  JR cable, Futaba 6P cable, ezUHF cable, zipper case, leans cleaner cloth, AV cable and clear English manual.
A nice feature is that you can power the camera and VTX from any li-po varying from 2S to 3S or 4S, since it has already in the kit a filtered balance powered harness connector, so no more need for additional battery…
Also, since I want the best range for this setup I suggest the spironet polarized antennas, but I will test for range later and update the info here…
Hoped you find the info usefull and enjoy your version of the Attitudes V2 same as I did J

Fly safe and take care !
Related Posts Plugin for WordPress, Blogger...