Sunday, January 5, 2014

Affordable hexacopter frame?

Just finished shortly my new Flip FPV Pro build and I am already looking at the next build.
Since quads are fun to fly in calm wind, I sometimes wish for a more stable platform that can handle stronger wind , fly smoother and be able to carry a brushless gimbal underneath withouth too much fuss.

After a lot of searching I think I found just the hexacopter to fit the bill on the thanksbuyer website, the link is here

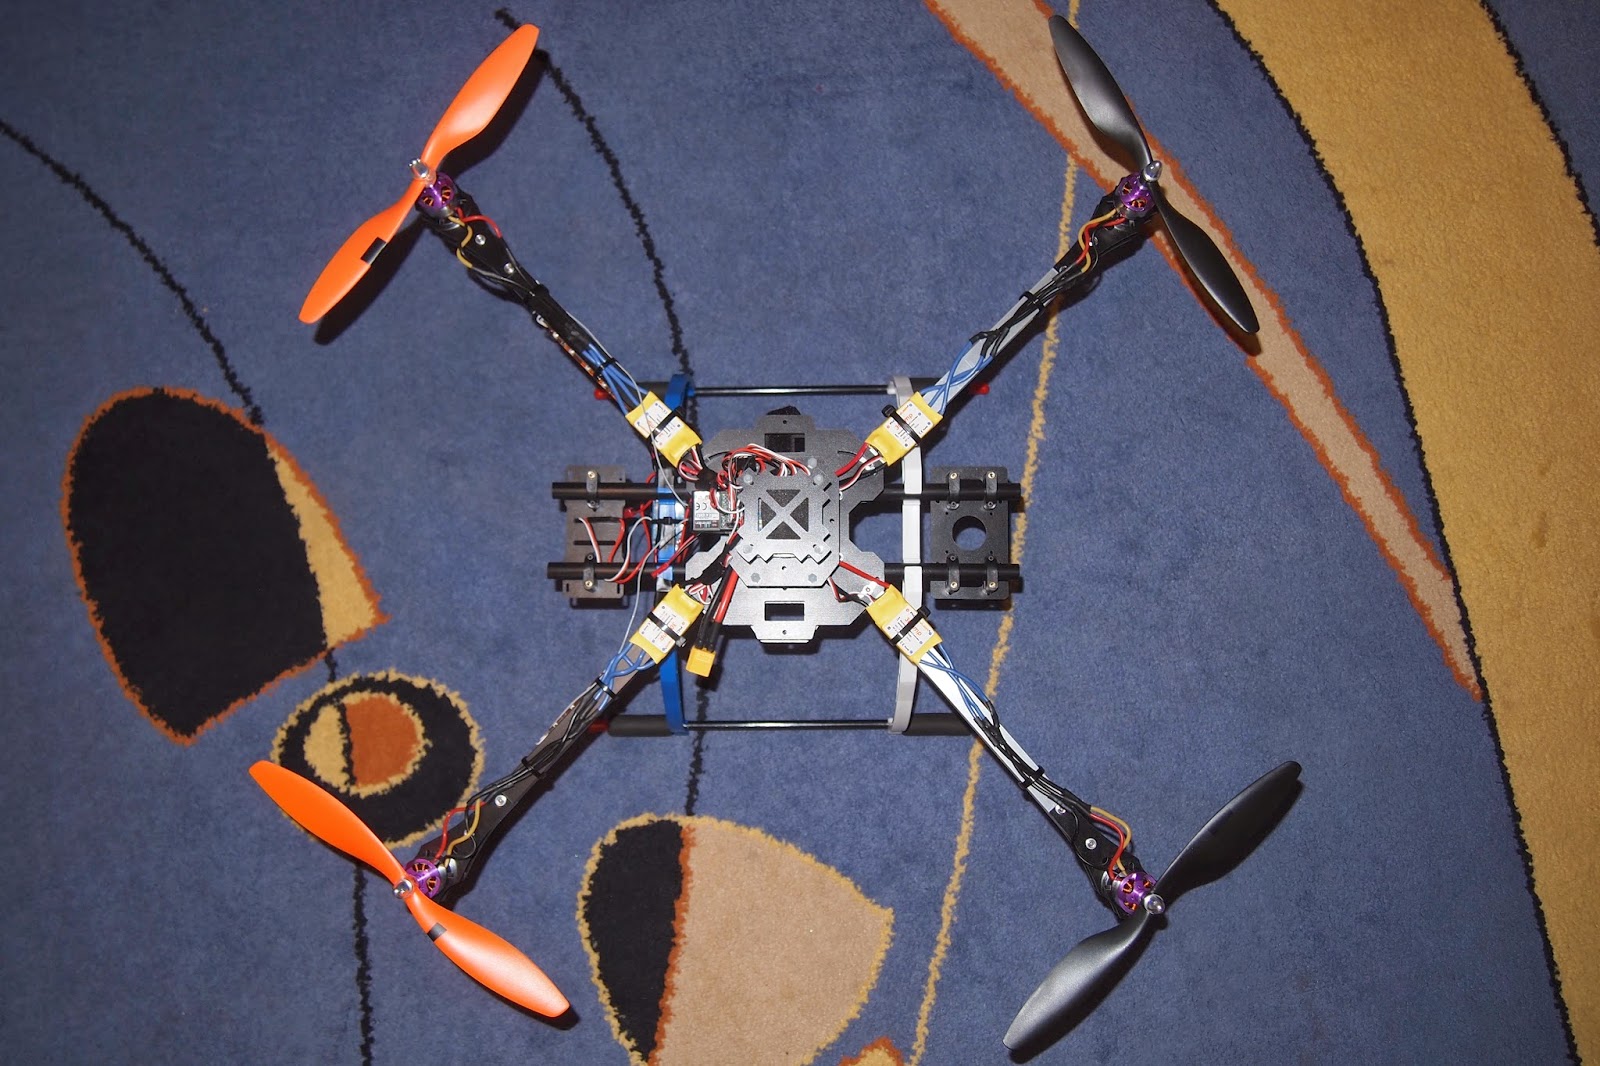
"Opened" and ready to operate hexa

Hexacopter in "folded state"
 
It costs 56.9 usd and looks nice for the price, it has folding arms, and better it comes with vibration dampening landing skid included in the kit(190mm tall).
At the beginning I didn't know much about thanksbuyer, but after exchanging some mails with them they are nice guys and they answer all my questions within 24 hours in good english, and that is a good thing for a chinese based website...
The motor to motor diameter is of 650 mm and according to their specs, you can fit propellers of  12, 13 or even 14 inches, of course using some lower KV motors from the 2212, 2216 and 2814 series.
I personally "booked" some 850 kv motors running 1045 propellers, 30 A ESC's and the multiwii 2.5 standard edition flight controller...
I already have a gimbal from my flip fpv pro gimbal version that I will fit to the hexa and the Flip I will use just for fun flying...Also I will fit on this hexa my Sony 600 TVL camera bundled with my 5.8 Ghz VTX to be able to get a bit more far away than just LOS flying.
I hope I will make a good choice and the quality of this affordable hexacopter frame will be as good as it looks :)
I will come back later with the build progress and a more detailed review of this hexacopter frame.
Take care and fly safe...
Update: 30.06.2014
After other build projects and family projects also, finally the hexa is completed...Please check my youtube movies below, and also the build log from the rcgroups forum.

Thanks


And now the pictures  :


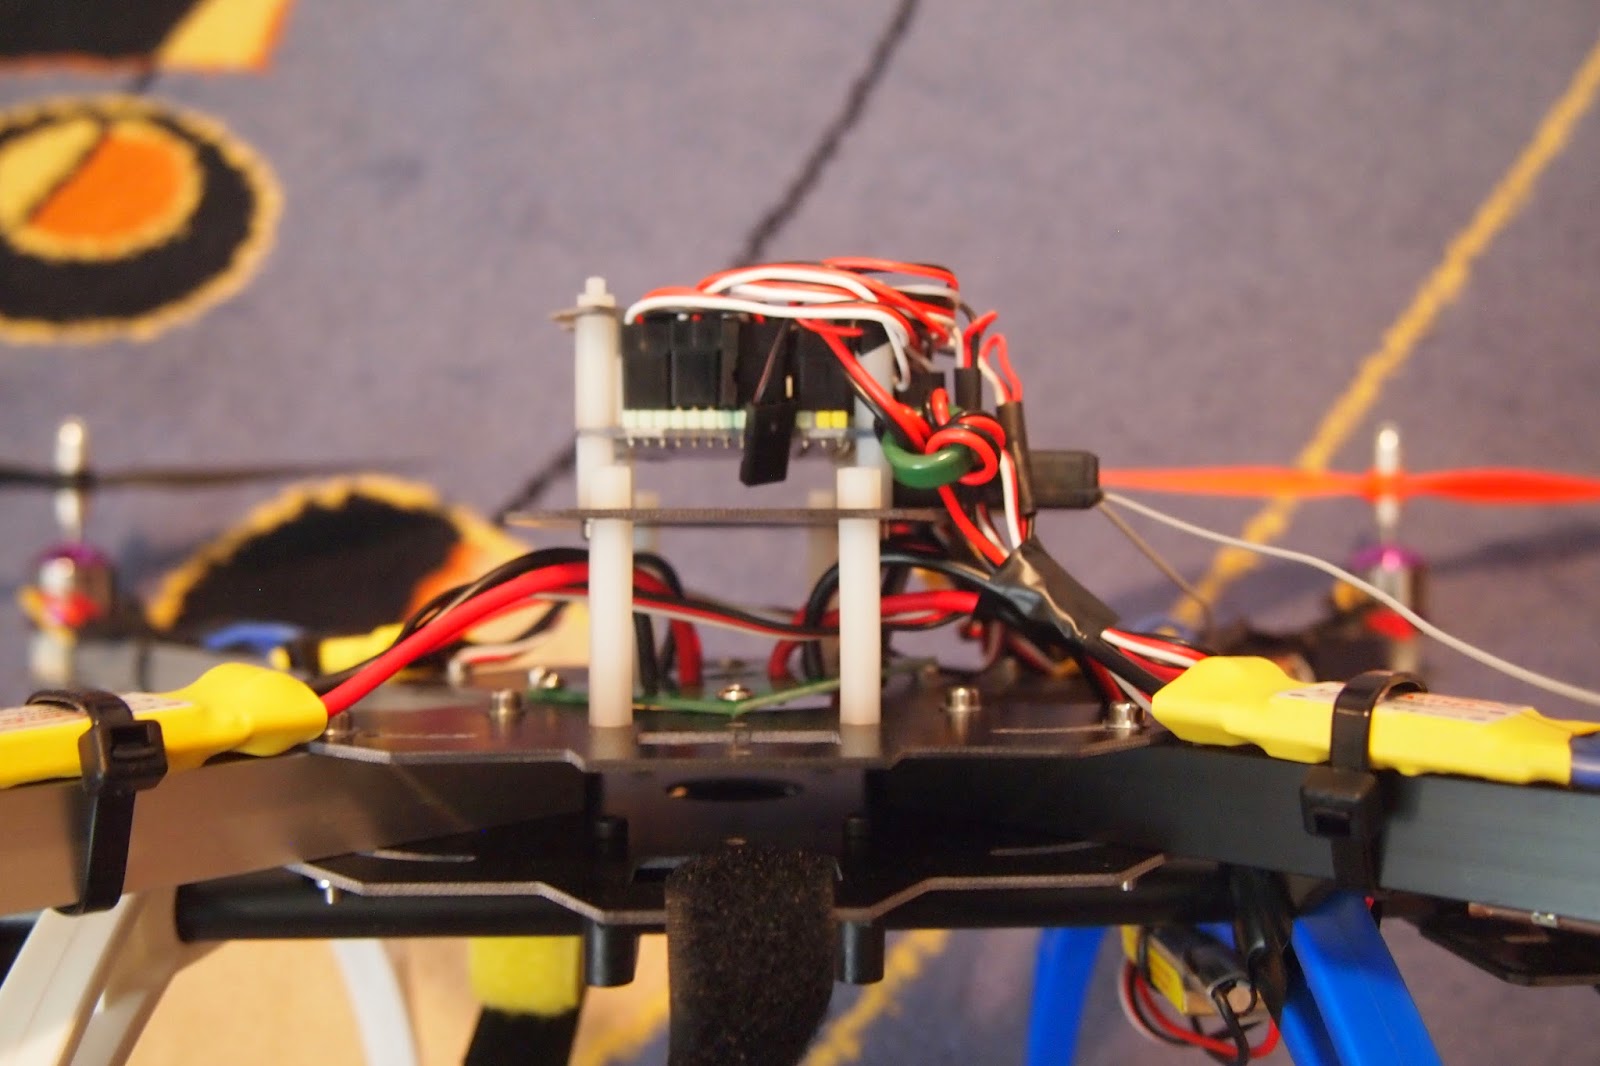
Quite heavy. I could swap it for the lighter (~50 gr) DJI F series skid


Quite light - now it has only 4 arms fitted and no brushless gimbal.

My Flip FPV Pro on the scale :)


Original motors prop fixation system. I updated to the multirotor prop mount similar to the Sunnysky x2212 and similar


My new "old" project - the HJ Alien quadcopter


          Hello again dear friends,
Despite my initial plan to make a build breakdown for all the quad's systems, I will try to summarize it all in just this one post, since it was pretty straight forward to build and setup. Also since some subscribers from my youtube channel asked me for more pictures, I will post them also, below...
And since some of you might ask why the {new "old" project} in the title the answer is that this kit is back in the original box it came in, and all the electronics were transferred into my new Hoverthings Flip Fpv - Pro quad, which is my latest project, details to follow in a later post...


The sunnysky X2212 / 980kv motor-nice and smooth


Motor mounting using the kit's hexagonal bolts (4 for each motor)

The rear motors fitted

The 3 esc wires routed through the quad's arms

The Sunnysky motor prop adaptor(special motors for multirotor)

All 4 motors fitted on the arms

Top plate also fitted to check how it all binds together

My Crius AIOP V2 flight controller

All the parts needed for this build

Already modified/shortened the esc to motor wires

ESC fitted to the arm

The "spider web" connections :)

Rear side arm...ESC fitted with tie wrap underneath

Both rear ESC's secured...


LED's installed-highly reccomended

Red LED's in the back

Green props in the front orange in the back- not necessary

Wiring routing without distribution board


Finally all "closed up"


As conclusions, for the price of 29 usd, it's not bad at all and it can be used by any beginner...
The arms are not as bad as many people complain, but I never had original DJI arms to compare against.
Initially I used megapirate NG in my Crius Aiop V2 flight controller because it seem so cool to have waypoint navigation and the interface was nice...But I didnt like the way it flew and the countless hours I lost adjusting the PID values...Anyway, after transferring everything to my new Flip FPV I also tried Multiwii 2.3 and with stock PID's it flies better than any of my MPNG configurations, so I'm not looking back.
I suggest you guys install multiwii straight on and save lost time and frustration, not to mention the direct bluetooth connection that works from your laptop, tablet or smartphone...wicked :)
Again, please feel free to put any questions or share any ideas you had, and hopefully other newbies like I also was, will save time and find some usefull information here.
Fly safe and enjoy the below movie:


Saturday, September 28, 2013

My 7 inch LCD monitor for FPV

Hello again,
I want to introduce to you a good LCD monitor suitable for FPV according to the specs, provided by Banggood.com, which you can buy from here .


The nice thing for some of you is that this LED LCD monitor has already a 5.8 Ghz FPV receiver included, so, normally you just need a FPV transmitter in order to work. Of course you can input the signal from your normal FPV receiver since the monitor has a 2 channel input selection, channel 1 for the built in receiver and channel 2 for the cable audio in video. Also it comes with a small hood, which might not be enough in strong daylight, but only suffice at lower light.The image quality was good with enough brightness even at 50%, so I think the specified 450 cd/m2 is achieved.
The specs are listed below and are according to banggood's information:
Screen size: 7 inch
Screen type: TFT LCD Screen LED backlight
Resolution: 800 x 480
Brightness: 450cd/m2
Contrast: 500:1
View Angle: 140/120degree (Horizontal/Vertical)
Working Voltage: 11.1V Li-po battery
Power Consumption: < 6w
Size: 170 x 110x 40mm
Working temperature: -10℃~+ 65 ℃

Working Frequency:
CH1: 5705MHz
CH2: 5685MHz
CH3: 5665MHz
CH4: 5645MHz
CH5: 5885MHz
CH6: 5905MHz
CH7: 5925MHz
CH8: 5945MHz

Features:
Built-in 5.8Ghz receiver
RPSMA Antenna Connections
Built-in 1CH 5.8Ghz AV output and 1CH AV input
Support 9 languages menu selection

The only let's say not great things about this LCD is that the screen is a bit reflective and that the connectors are not as in the banggood's website, but as you can see it in my below video, so please consider this when preparing your connectors ahead. 
I will do a follow up video showing it "in action" since people already asked me about the blue screen and the recovery time from that...I can tell you already it will go blue screen on heavy interference(low signal) and will recover fast...


What I liked:
  • good price vs performance;
  • good brightness
  • good image quality
  • FPV receiver included
  • fast recovery after signal is lost
What I didn't liked:
  • connectors not like in the product images;
  • screen a bit reflexive

Thursday, September 26, 2013

My new project: FPV quadcopter - the frame

THE HJ 450 frame with the top side sitting along

Following the introduction from the initial build post, let's move on to THE FRAME

Again, I choose this design over the classic one, because of the versatility of the TBS Discovery like frame… Assembling it was an easy task, but I suggest to use blue Loctite for the screws if you want to keep everything in place… You can see more in the pictures below…Anyway, I think that it would be a good idea to prepare your electronics aside the frame and plan on how to attach everything…
Also before mounting the top plate of the frame, I suggest to put in the flight controller, or at least to take a picture of all the connectors, pins and wires going to the FC for later convenience…In the below shot, I just formally installed the motors to check if the supplied screws match and everything works fine, and it did :)


 In the below picture, I just used a piece of foam pad that I had sitting around from a tarot zyx controller, and I will fit it under the Crius AIOP v2 flight controller to damped any vibrations from the motors...If you used anything better please let me know by posting your comment...
Currently my build is on hold since 3 out of 5 ESC's I ordered were dead on arrivel( 1 ordered extra just for this case)

 
After the ESC's will arrive, I will solder the bullet connectors, program them and resume my build...
Stay tuned for more to come...

Related Posts Plugin for WordPress, Blogger...